
如今 API 开发已经很简单。但是你是否尝试过使用 React 将表单数据发布到 Google 表格中? 如果没有,那么你可以了解一下这篇教程。
今天,我们将讨论如何将 React 中的表单数据像发送到 REST API 一样发送到 Google Sheets 中。
第一步,创建一个 React App
这里使用 create-react-app 创建一个 React app。
执行 npx create-react-app react-googlesheets 创建项目文件。

安装 Semantic UI
Semantic UI 是用于设计和开发精美响应式布局的框架。它有按钮、容器、列表、输入框等组件。
执行下面的命令在 React 应用中安装 Semantic UI:
npm install semantic-ui-react semantic-ui-css
安装完成后,打开 index.is 文件,按如下引入资源:
import 'semantic-ui-css/semantic.min.css'
执行 npm start 命令运行 app。
创建一些输入框
创建一个表单以及一些输入框,以获取 name、age、salary 和 hobbies。
从 semantic-ui-react 库里导入 Buttons、Form、Container 和 Header,并创建表单字段。
import React, { Component } from 'react'
import { Button, Form, Container, Header } from 'semantic-ui-react'
import './App.css';

export default class App extends Component {
  render() {
    return (
      <Container fluid className="container">
        <Header as='h2'>React Google Sheets!</Header>
        <Form className="form">
          <Form.Field>
            <label>Name</label>
            <input placeholder='Enter your name' />
          </Form.Field>
          <Form.Field>
            <label>Age</label>
            <input placeholder='Enter your age' />
          </Form.Field>
          <Form.Field>
            <label>Salary</label>
            <input placeholder='Enter your salary' />
          </Form.Field>
          <Form.Field>
            <label>Hobby</label>
            <input placeholder='Enter your hobby' />
          </Form.Field>

          <Button color="blue" type='submit'>Submit</Button>
        </Form>
      </Container>
    )
  }
}
.form{
  width: 500px;
}

.container{
  padding:20px
}
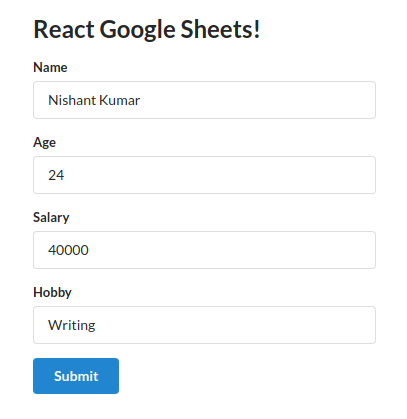
此时界面如下:
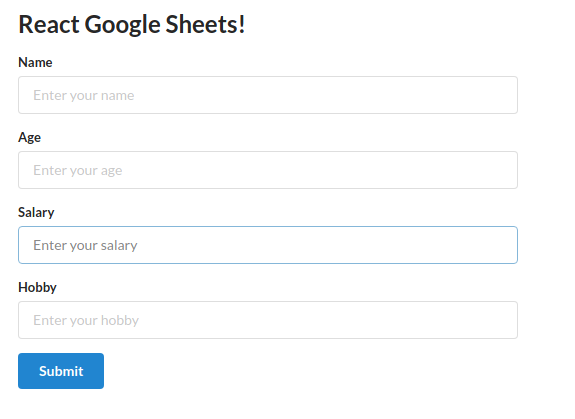
目前为止,UI 已经搞定,来添加功能。
首先,在 constructor 里为表单字段创建状态。
import React, { Component } from 'react'
import { Button, Form, Container, Header } from 'semantic-ui-react'
import './App.css';

export default class App extends Component {
  constructor(props) {
    super(props)

    this.state = {
       name: '',
       age: '',
       salary: '',
       hobby: ''
    }
  }

  changeHandler = (e) => {
    this.setState({[e.target.name] : e.target.value})
  }

  submitHandler = e => {
    e.preventDefault();
    console.log(this.state);
  }

  render() {
    const { name, age, salary, hobby } = this.state;    (*)
    return (
      <Container fluid className="container">
        <Header as='h2'>React Google Sheets!</Header>
        <Form className="form" onSubmit={this.submitHandler}>
          <Form.Field>
            <label>Name</label>
            <input placeholder='Enter your name' type="text" name = "name" value = {name} onChange={this.changeHandler}/>
          </Form.Field>
          <Form.Field>
            <label>Age</label>
            <input placeholder='Enter your age' type="number" name = "age" value = {age} onChange={this.changeHandler}/>
          </Form.Field>
          <Form.Field>
            <label>Salary</label>
            <input placeholder='Enter your salary' type="number" name = "salary" value = {salary} onChange={this.changeHandler}/>
          </Form.Field>
          <Form.Field>
            <label>Hobby</label>
            <input placeholder='Enter your hobby' type="text" name = "hobby" value = {hobby} onChange={this.changeHandler}/>
          </Form.Field>

          <Button color="blue" type='submit'>Submit</Button>
        </Form>
      </Container>
    )
  }
}
这里,有四个表单字段,分别为其创建状态。还有一个 changeHandler 方法来跟踪输入值的改变。
在 render 方法里解构状态并将其值添加到 input 的 value 属性里。
最后要处理的是 onSubmit 方法。在 form 标签里添加 onSubmit 事件并赋值为 submitHandler 方法。
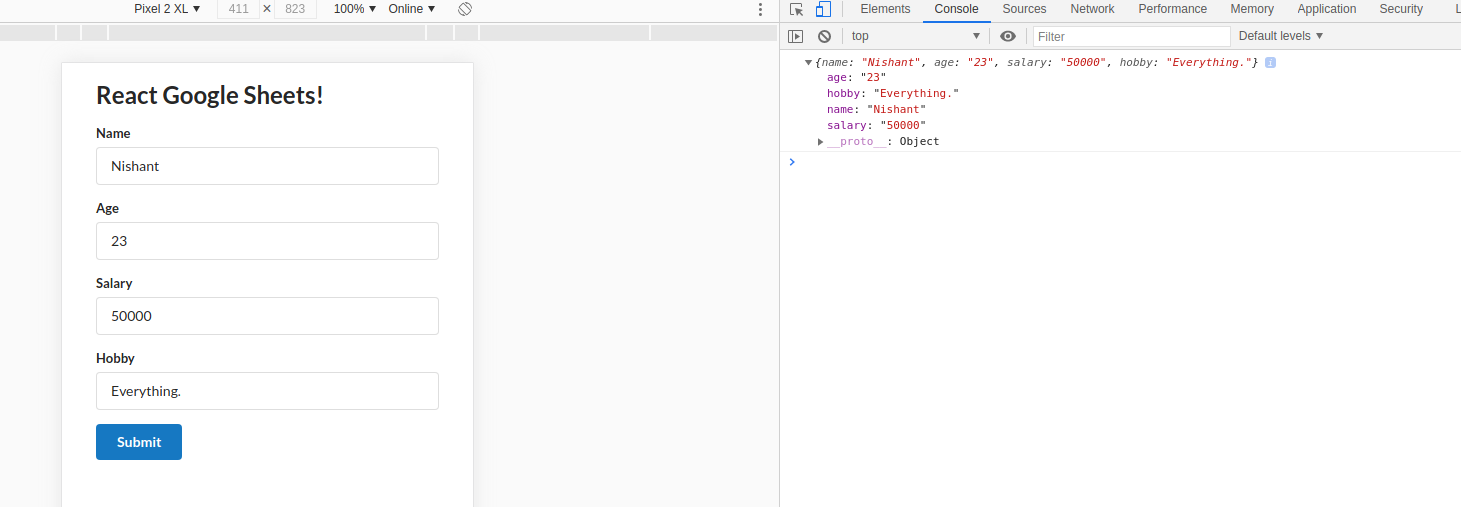
填写表单然后点击提交。输入的数据会显示在 console 上。
现在,有了接收 name、age、salary 和 hobby 的表单,提交会将信息打印到 console 上。
怎样将其发送到 Google Sheets 里
先来把 Google sheets 变成 REST API。
以 REST API 的形式向 Google Sheets 发送数据,先安装 Axios。这是一个可以向 API 发起请求的库,就像 fetch 一样。
点击 File,然后点击 New,再点击 Spreadsheet 打开一个 Spreadsheet。
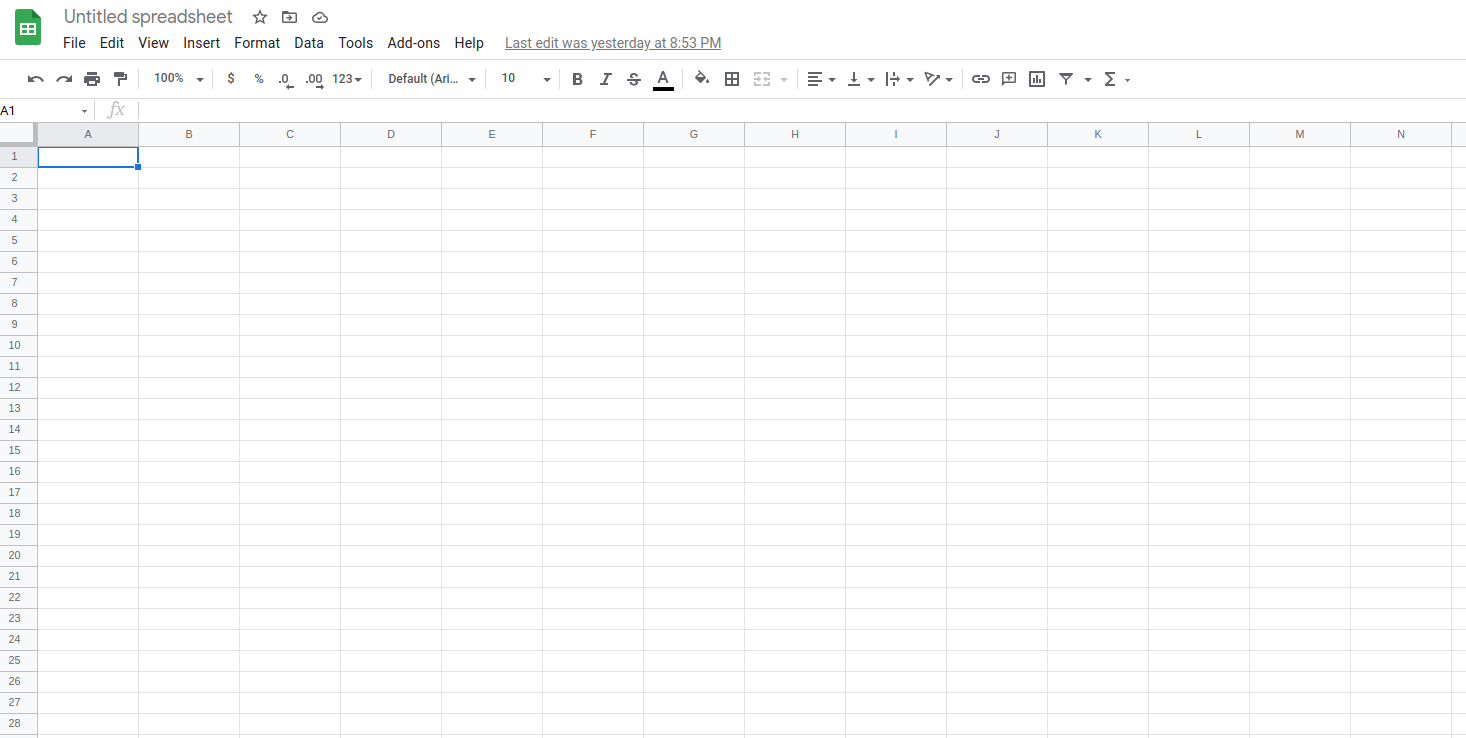
给 sheet 添加一个名字并保存。
点击屏幕右上方的 share 按钮,编辑权限使其可以被公开访问。
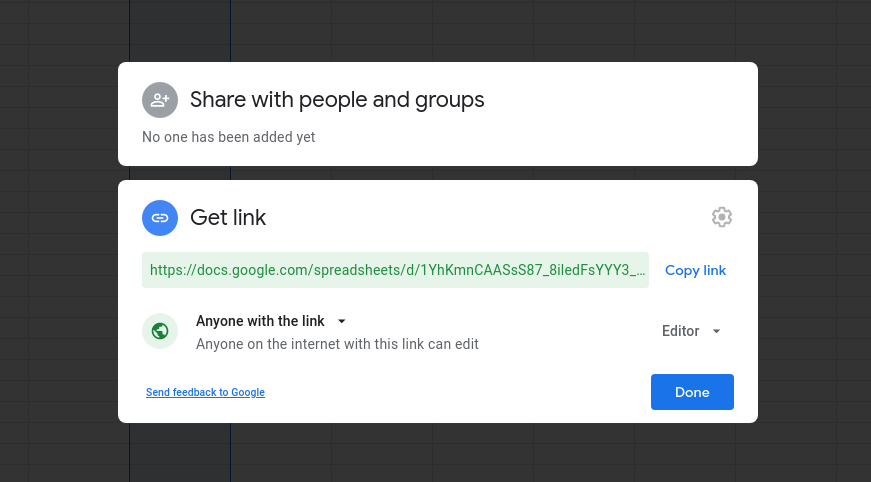
复制链接然后访问 https://sheet.best/ 创建一个免费账户。
创建一个新的 connection,在 connection 的 URL 输入框粘贴刚刚复制的 Google Sheets 链接。
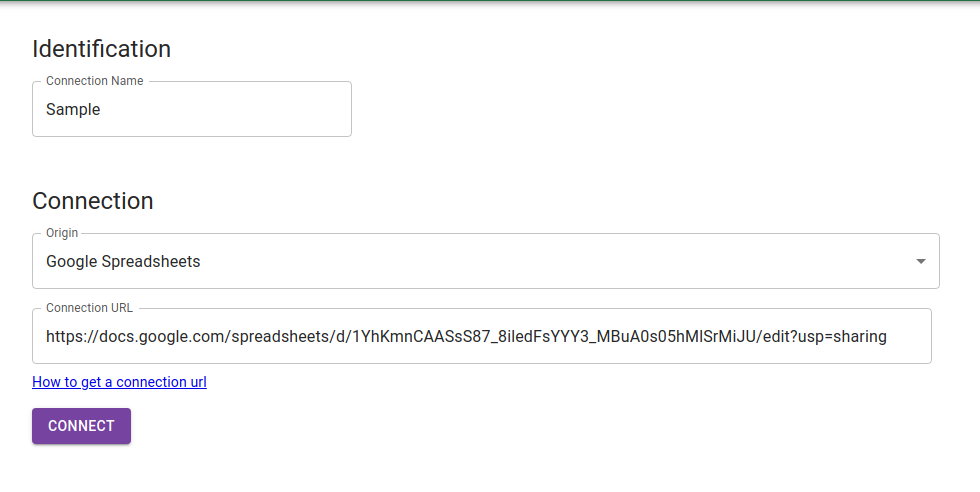
点击 connect,会跳转到 connections 页。在这里会看到所有的 connections。点击新创建的 connections 查看详情。

复制 CONNECTION URL。该 URL 将用作发送 POST 请求的端点。
现在来安装 Axios。在终端执行 npm install axios 安装这个包。
安装后,将其导入文件顶部。我们将在 SubmitHandler 函数中发出 POST 请求。
submitHandler = e => {
    e.preventDefault();
    console.log(this.state);

    axios.post('url', this.state)
    .then(response => {
      console.log(response);
    })
  }
用上面的代码替换 SubmitHandler 函数。在这里,我们使用 Axios 将数据发送到URL,并通过 .then 关键字在控制台中获取响应。
把 axios.post('url') 中的 URL 替换成 sheet.best 中的 CONNECTION URL。
submitHandler = e => {
    e.preventDefault();
    console.log(this.state);

    axios.post('https://sheet.best/api/sheets/a6e67deb-2f00-43c3-89d3-b331341d53ed', this.state)
    .then(response => {
      console.log(response);
    })
  }
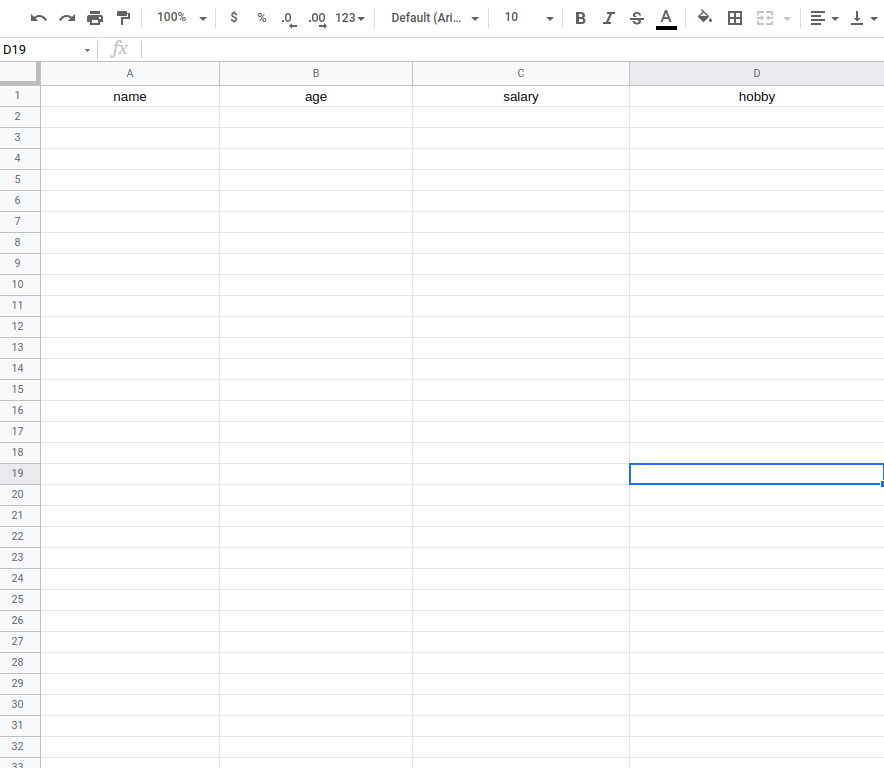
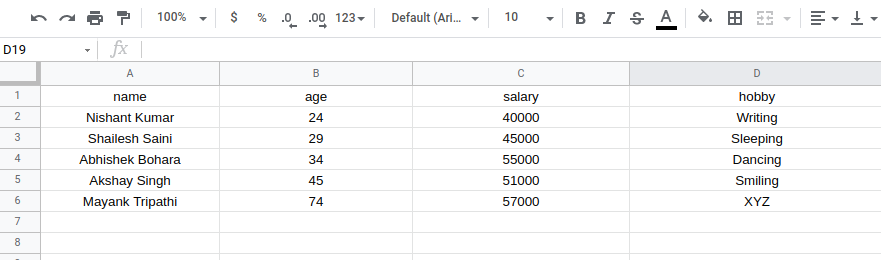
现在,打开 Google 表格,然后填写第一列,即 name、age、salary 和 hobby。请仔细填写,否则将无法正常工作。应该区分大小写。
现在,运行 React 应用程序并填写输入字段。会看到数据正在一列一列地填充到 Google 表格中。
就是这些。现在,可以使用 React 应用程序将数据存储在 Google 表格中啦。
或者,你可以在 GitHub 上找到代码进行实验。
学习愉快。
原文:How to Turn Google Sheets into a REST API and Use it with a React Application,作者:Nishant Kumar